Your first time using self-tanner does not have to be a disaster. The streaky ankles, orange palms, and blotchy knees that haunt most first-timers come from skipping the steps that actually matter.
If you follow this week-by-week plan from day one, your first tan will look like you’ve been doing this for years. Today i will tell you what’s the best self Tanning Routine for Beginners.
What You Need Before You Start
You don’t need 10 products. You need three:
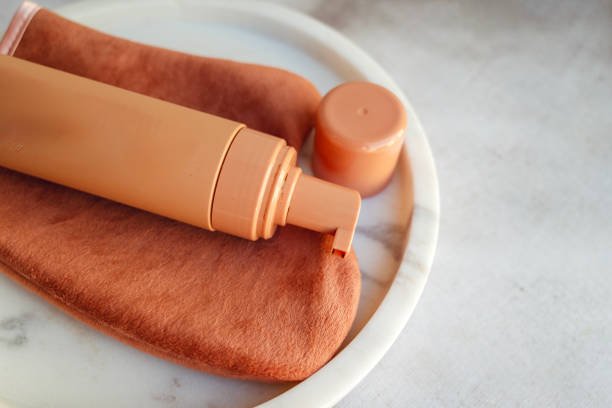
- A tanning mitt — non-negotiable. Applying with bare hands stains your palms and creates uneven pressure marks. A mitt distributes product evenly.
- An exfoliating scrub or mitt — for pre-tan skin prep. Physical or chemical, either works.
- A beginner-friendly self-tanner — for first-timers, a tinted mousse is easiest. The guide color shows you where you’ve applied so you don’t miss spots.
Optional but helpful: a barrier lotion (for knees, elbows, ankles), and a gradual tanning moisturizer for maintenance between applications.
Week 1, Day 1: Prep Day Do This 24 Hours Before
The day before your first tan application:
- Shave or wax any areas you plan to — do this at least 24 hours before tanning, not the same day. Hair removal opens follicles; DHA will collect in them and create dark dots if the skin hasn’t had time to settle.
- Exfoliate your whole body — pay extra attention to elbows, knees, ankles, and wrists. These areas have thicker, drier skin and absorb more self-tanner, causing them to go disproportionately dark.
- Moisturize thoroughly — apply a regular body lotion after exfoliating and let it absorb overnight. Hydrated skin = more even DHA reaction.
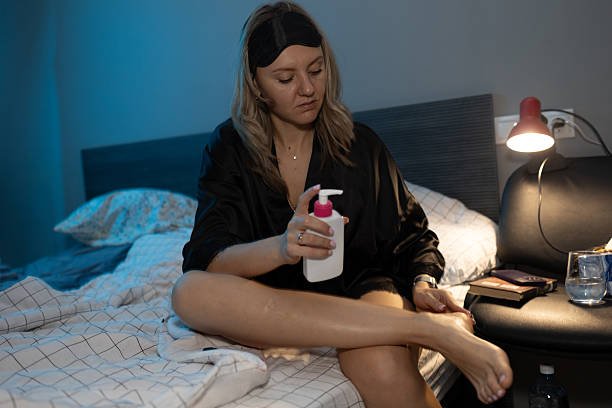
Week 1, Day 2: Application Day
Morning or evening — choose what works for you:
Shower with a gentle, oil-free wash. Pat (don’t rub) dry and wait 10–15 minutes for your skin to fully dry out. Apply a thin layer of regular lotion only to your elbows, knees, ankles, and wrists — these will act as a barrier to prevent over-absorption in the driest areas.
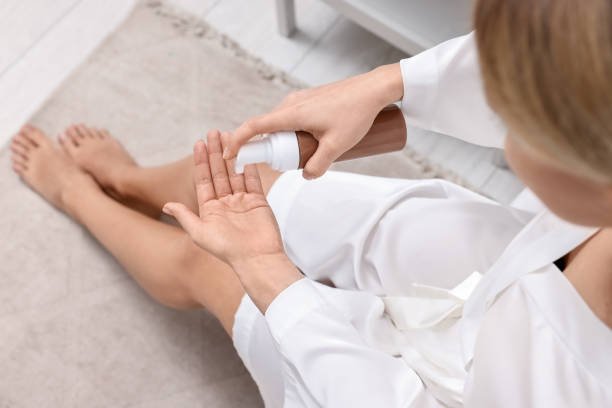
Now apply your self-tanner section by section, bottom to top:
- Right leg — sweep in long circular motions from ankle to hip
- Left leg — same method
- Stomach — blend in large circles
- Back — ask someone to help, or use a back applicator
- Right arm — from wrist to shoulder
- Left arm — same
- Chest and neck — use what remains on your mitt, blend into the jawline
- Face — optional for day one; if you do, mix a small amount into your regular moisturizer
Wash your hands immediately after each section. When you’re done, wipe the back of your hands lightly with the remaining product on your mitt — don’t apply directly to hands.
Week 1, Day 2 After Application
Wait 10 minutes before dressing. Wear loose, dark clothing for the next few hours. Avoid sweating, swimming, or showering for 6–8 hours. When development time is done, rinse in cool water without soap or body wash. Pat dry. Apply a light, fragrance-free moisturizer.
Your color will look subtle at first and deepen over the next few hours as the DHA reaction fully completes.
Also READ
Does Tanning Oil Damage Skin? What Dermatologists Actually Say
Week 1, Days 3–7: Maintenance
Your first tan is in. Now the goal is making it last and fade evenly:
- Moisturize every day — morning or night. Hydrated skin sheds more evenly, which means your tan fades gradually rather than in patches.
- Use lukewarm water in the shower, not hot — heat accelerates skin cell turnover and speeds up fading.
- Avoid exfoliating until you’re ready for your next application — exfoliation removes the DHA-stained surface cells.
- If you see any dark patches on elbows or knees, use a gentle scrub on just those spots to lighten them slightly.
Week 2: Your Second Application
After 5–7 days, your first tan will have faded enough to reapply. By now you know what areas need more attention and what areas went too dark. Adjust accordingly:
- If your elbows/knees went too dark apply more barrier lotion there this time
- If your color faded patchy more thorough exfoliation before this application
- If the color was too light overall apply two thin coats instead of one (let the first dry for 10 minutes before the second)
- If the color was too orange try a formula with erythrulose alongside DHA for a more natural brown tone
FAQ: Tanning Routine for Beginners
What’s the best self-tanner for beginners?
Tinted mousse formulas are the most beginner-friendly. The guide color lets you see where you’ve applied so you don’t miss spots. Clear mousse is harder to use because you can’t see coverage. Gradual lotions are also good for beginners as mistakes are easier to correct over multiple days.
How long does self-tanner take to develop?
DHA typically begins showing color within 2–4 hours, with full development at 6–8 hours. Some formulas take up to 12 hours for the deepest shade. Don’t rinse before the development time is done or you’ll get lighter, uneven results.
I missed a spot — what do I do?
If you notice a missed patch while the self-tanner is still wet, blend with the edge of your mitt. If it’s already dried, wait for full development, then apply self-tanner just to the missed area using a small amount on the mitt and blending the edges carefully.
Can I use self-tanner on my face as a beginner?
Yes, but start by mixing a drop or two into your regular moisturizer. This creates a diluted version that builds gradually and is forgiving if blending isn’t perfect. Full-strength self-tanner on the face can develop too intensely around the hairline and eyebrows for first-timers.
My self-tan looks orange — did I do something wrong?
Orange tone usually means too much product or a formula with a high DHA concentration. Try a gradual tanner or use a lighter application next time. Also look for formulas labeled “natural tone” or “olive tone” — these are formulated to produce more brown than orange undertones.
Do I need to exfoliate every time before tanning?
Yes always exfoliate 24 hours before every new application. Each application should start with fresh, prepped skin. Applying self-tanner over an existing faded tan without exfoliating first results in uneven, layered color.
Bottom Line
A successful beginner tanning routine comes down to three things: proper 24-hour prep, technique during application, and daily moisturizing afterward. Your first tan won’t be perfect — but if you follow this plan, it will be significantly better than the experience most first-timers have. By your third application, it will feel like second nature.
Also READ
Tanning Oil vs Self Tanner: What’s Actually the Difference (And Which is Safer)?
Disclaimer: This content is for informational purposes only and is not a substitute for professional dermatological advice.

Ahtisham
I spent years struggling with oily, acne-prone skin before discovering that the right routine — not expensive products — is what actually works. Everything on this site is tested on my own skin and backed by real research.
Read my full story
Leave a Reply