You spent 30 minutes applying self-tanner. You were careful. You used a mitt. And somehow — your knees are three shades darker than your thighs, your ankles look like you dipped them in mud, and your hands gave you away the moment you walked into work. Sound familiar?
Streaky self-tanner isn’t a skin problem. It’s a technique problem. And once you understand why it happens, you’ll never have an uneven tan again. Deep Dive with me know How to Self Tan Without Streaks.

Why Self-Tanner Goes Streaky (The Real Reason)
Self-tanner works because of an ingredient called DHA dihydroxyacetone. It’s a plant-derived sugar that reacts with amino acids in the outermost layer of your skin to create a temporary brown color.
That reaction is called a Maillard reaction, and it takes 2–8 hours to fully develop.
Streaks happen when DHA reacts unevenly which occurs when: dry patches absorb more product, application is inconsistent, or the skin surface wasn’t properly prepped.
It’s better prep and application technique. Source: PMC — DHA Sunless Tanning: Chemical Activity and Safety Review
Step 1: Prep Your Skin 24 Hours Before (Not the Same Day)
This is the step most people skip — and it’s the most important one. Do all of this 24 hours before you plan to tan:
- Shave or wax — hair removal opens pores; doing it 24 hours before gives them time to close. Tanning over open pores creates dark dots.
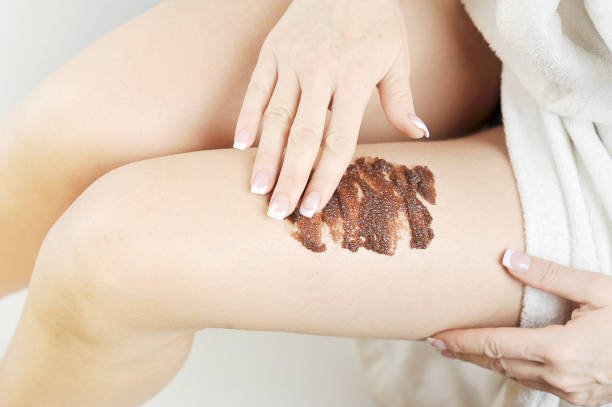
- Exfoliate — use a body scrub or exfoliating mitt. Focus extra time on elbows, knees, and ankles — these areas have thicker, drier skin that absorbs more DHA.
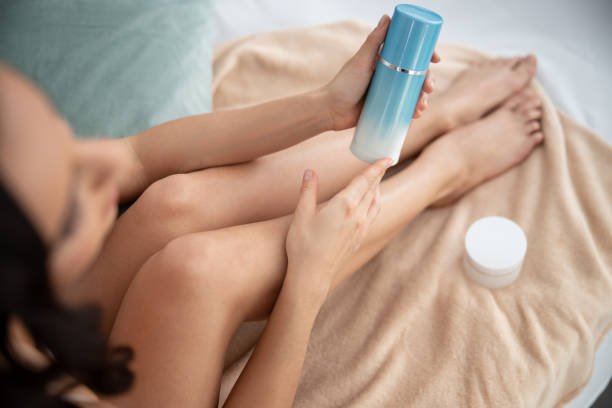
- Moisturize after exfoliating — apply a lightweight, fragrance-free body lotion and let it fully absorb overnight.
Step 2: The Day of — What to Do Right Before Applying
On the day you tan, shower with warm water and a gentle, sulfate-free wash. No oils, no heavy conditioners on your skin. Pat dry don’t rub.
Then wait 10–15 minutes for your skin to fully dry before applying any product. Even slightly damp skin will dilute the DHA and cause uneven results.
Apply a thin layer of regular lotion to your elbows, knees, ankles, and wrists only. This creates a barrier that prevents these already-dry areas from absorbing too much product and going too dark. Everywhere else no lotion.
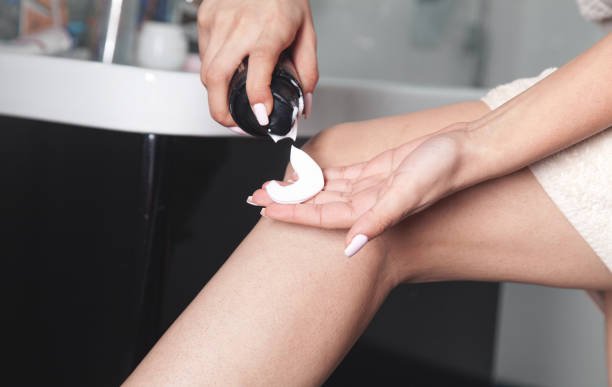
Step 3: Apply in Long Circular Motions — Section by Section
Always use a tanning mitt. Never apply with bare hands — you’ll stain your palms orange and the pressure from fingertips creates uneven patches.
Work in sections, bottom to top:
- Legs (one at a time)
- Stomach and back
- Arms (one at a time)
- Chest and neck
- Face last — use a small amount mixed with moisturizer
Use long, sweeping circular strokes. Blend each section into the next before it dries. The guide color in most self-tanners shows you where you’ve already applied — use it.
Study Source: American Academy of Dermatology — How to Apply Self-Tanner
Step 4: The Spots That Always Go Wrong (And How to Fix Them)
These problem areas need specific attention:
- Knees and elbows — the lotion barrier you applied before should help. Still apply less product here than on flat skin areas.
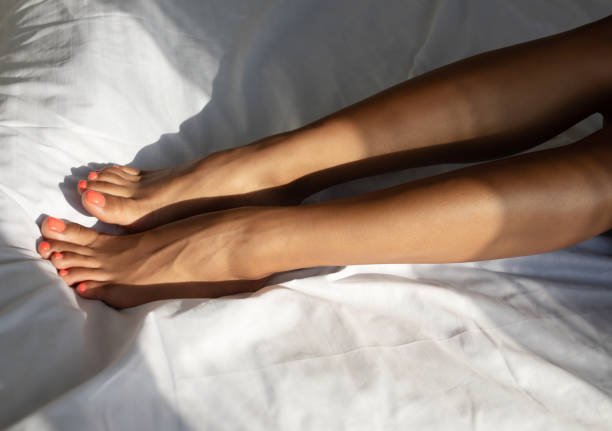
- Ankles and feet — blend the tanner from your leg down onto the top of the foot only. Avoid the soles. Use a small amount and feather the edges.
- Hands — after finishing your body, wipe the mitt on your hands using whatever product remains. Don’t apply directly — the skin on hands is too thin and absorbs too fast.
- Hairline and ears — blend with a damp cotton round at the edges. This prevents the obvious “mask line.”
Step 5: After Application — What to Do While It Develops
Wait at least 10 minutes before getting dressed. Wear loose, dark clothing tight clothing creates pressure lines that interrupt DHA development. Avoid sweating, showering, or swimming for at least 6–8 hours after application. The longer you wait, the deeper the color develops.
Rinse off with cool water (no soap) when the development time is up. Pat dry. Apply a fragrance-free, alcohol-free moisturizer daily after that hydrated skin holds the tan longer and fades more evenly.
How to Make a Self Tan Last Longer
Self-tanner typically lasts 5–10 days, depending on how well you maintain your skin. To extend your tan:
- Moisturize daily — dry skin sheds faster, which fades tan unevenly
- Avoid long, hot showers — they accelerate skin cell turnover
- Don’t exfoliate until you’re ready to remove the tan entirely
- Use a gradual tanning lotion between applications to top up color
One more thing u need to know click us: Why Does My Moisturizer Pill on My Face? (5 Causes + Real Fixes)
Can You Fix a Streaky Tan After It’s Developed?
Yes. If your tan has already developed unevenly, a body exfoliating scrub applied to the streaky areas will speed up fading in those spots.
For orange ankles or knees, a cotton pad soaked in a mixture of lemon juice and baking soda can lighten the overtan areas gently. After evening out, moisturize well and reapply more carefully the next time.
FAQ: How to Self Tan Without Streaks
Why does my self-tanner always look orange?
Orange tones usually come from using too much product or using a formula with a high DHA percentage.
Try a gradual tanner with lower DHA concentration, or apply fewer layers. Formulas with added erythrulose alongside DHA tend to produce more natural brown tones.
Should I shower before or after applying self-tanner?
Shower before — but wait 10–15 minutes after showering for your skin to fully dry before applying. Applying to slightly damp skin dilutes the DHA and creates an uneven result.
Can I apply self-tanner every day?
You can, but you shouldn’t need to. Over-application builds up in skin creases and looks unnatural. Apply every 5–7 days, or use a gradual daily lotion if you want to build color slowly.
Does self-tanner work on all skin tones?
Yes, but the visible result varies. On deeper skin tones, self-tanner adds a subtle glow rather than a dramatic color change. Look for formulas designed for medium-to-deep skin tones that use lower DHA percentages to avoid unwanted contrast.
Is self-tanner safe for sensitive skin?
Most self-tanners are considered safe for sensitive skin, but DHA can occasionally cause irritation in very reactive skin types. Patch test any new formula on your inner arm 24 hours before full application. Choose fragrance-free, alcohol-free formulas for best results.
Do I still need sunscreen if I’m using self-tanner?
Yes always. Self-tanner does not provide UV protection. The color is cosmetic only and does not trigger the melanin production that comes from actual sun exposure. Apply SPF 30 or higher every time you go outside, regardless of how tan you look.
Bottom Line
A streak-free self-tan comes down to three things: proper prep the day before, the right application technique, and patient aftercare. Skip the prep and no self-tanner no matter how expensive will give you even results. Get the prep right and even a budget formula will look natural.
The DHA in self-tanner needs an even skin surface to react evenly. Give it that surface and you’ll get the bronze result you’re going for, every time.
Disclaimer: This content is for informational purposes only and is not a substitute for professional dermatological advice. If you have a skin condition or sensitivity, consult a dermatologist before using self-tanning products.
Ahtisham
I spent years struggling with oily, acne-prone skin before discovering that the right routine — not expensive products — is what actually works. Everything on this site is tested on my own skin and backed by real research.
Read my full story
Leave a Reply